Midtown Manhattan 36 W 44th St Ste 1416 New York, NY 10036

Sitting Exercises

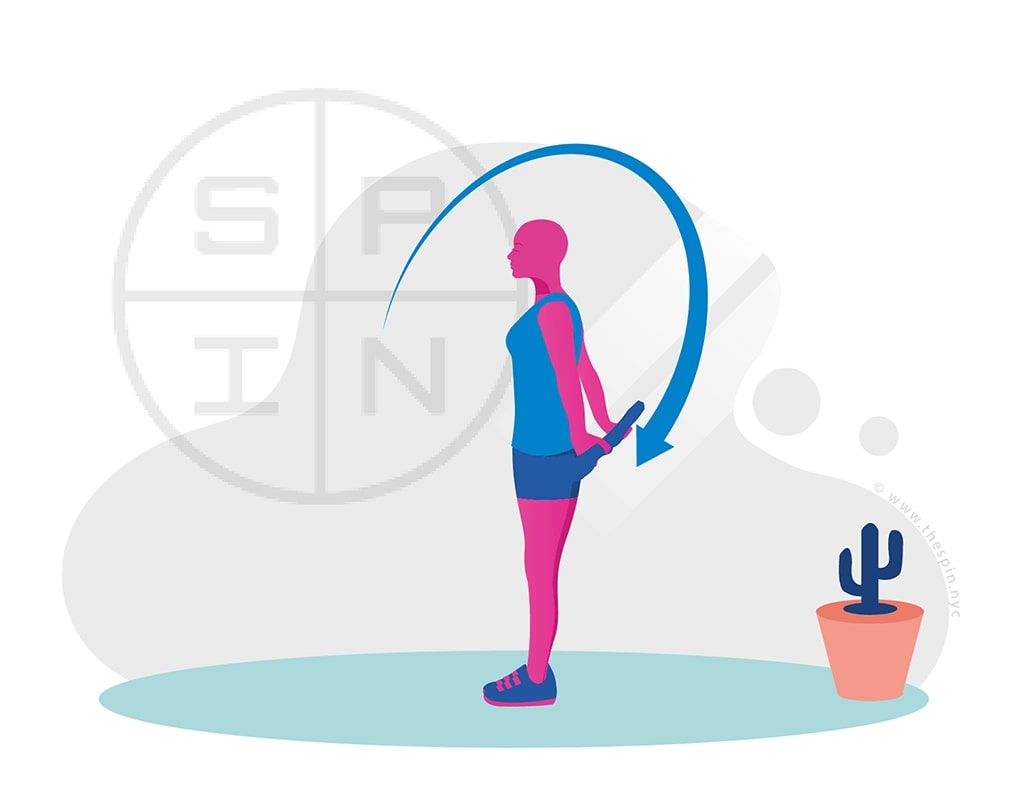
Over and backs

Over and backs Exercise
  1. Grab a towel or band and grip it straight out by extending your arms in front of your chest.
  2. Grasp the towel or band close to its ends to get a wider grip.
  3. Lightly pull the towel or band apart so you can feel the tension.
  4. Keeping your elbows straight and shoulders down, lift the towel or band up above your head and take it behind your back. Be sure to go as far as you can tolerate it.
  5. Once the towel or band is behind your back, maintain the tension by pulling the towel or band apart with overhand grip. Do not tense your upper traps.
  6. You will feel a good stretch in your chest, shoulders, and upper traps.
  7. Hold this stretch for at least 5 to 8 breaths.
  8. Slowly return to the starting position, relax, and repeat.

Cobra Pose

Yoga Cobra Exercise
  1. Lie on your belly with your legs stretched behind you on the mat slightly wider than hip-distance apart.
  2. Place the top parts of your feet on the floor and press them into the floor.
  3. Squeeze your shoulder blades together and back. (No need to crunch your shoulders).
  4. Tuck your pelvis in, draw your navel towards your spine, and press your pubic bone firmly into the floor.
  5. Spread your hands on the floor under your shoulders, so your palms come to rest on the mat directly under your armpits, with fingers facing forward.
  6. Hug your elbows at the side of your body.
  7. Inhale, press palms down into the floor and using your back muscles, slowly lift the crown of your head, then neck, and then chest, gazing forward. Be sure not to cause any strain on your lower back.
  8. Hold the pose for several breaths.
  9. Exhale, and slowly release your upper back, neck, and head down to return to the starting position.

Stand and Reach

Sitting Stand and reach Exercise
  1. Raise the arm on the side that you want to stretch and place it over your hip on the same side.
  2. Then, lift the other arm like you are trying to reach towards the ceiling. Try lifting your arm at various angles to find out the angle that gives you the best stretch on the affected side.
  3. Hold the stretch for about 5 to 10 seconds.
  4. Repeat a few times before switching to the other side.

Wall slides with chin nod

Sitting Wall slides with chin nod direction Exercise
  1. Stand straight with your back against a wall, slightly pressing your back so you can feel your whole back against the wall. Moving your feet away from the wall with your knees slightly bent will further help you achieve the correct posture.
  2. Then, raise your arms and bring them back against the wall.
  3. Slide your arms up and down against the wall, going as high as you are comfortable. Remember to breathe while keeping your back and rib cage flat against the wall.
  4. While doing the wall slides with the back of your head still against the wall, bring your chin down and tuck it into your chest.
  5. Repeat this chin nod at least 2 to 4 times while in the same posture.
  6. Return to the starting position, relax, and repeat the above steps.

Quadruped Throacic Rotations

Quadruped Throacic Rotations Exercise
  1. Begin sitting on all your fours with your knees bent, your hips positioned under your heels, and hands extended straight out under your shoulders with your palms placed flat on the floor (known as the quadruped position).
  2. Extend one hand slightly forward to your shoulder.
  3. Position the other hand behind your neck.
  4. Then keeping that hand behind your neck, rotate your upper back downwards, to bring the elbow of that arm down towards the floor close to the other elbow.
  5. Next, while leading with your eyes, head, and shoulders, slowly reverse the movement by rotating your upper spine and arm upwards so that your elbow now faces the ceiling. Try it up to the point that does not make you feel uncomfortable, or the rotation doesn’t round up or hyperextend your back.
  6. Hold this position for at least 10 deep breaths and then rotate your arm down back towards the floor.
  7. Do at least 5 to 8 reps on one side before switching to the other side.

Kneeling Hip Flexor Stretch

Hip flexor stretch kneeling Exercise
  1. Start off by sitting down on both knees and getting into a kneeling lunge position where one knee stays back on the floor and you step the other leg in front of you bending it at 90 degrees with your foot placed flat on the ground. Place one hand on your hip.
  2. Tuck your pelvis inside, squeeze your glutes and abdominal muscles. Tilt your body slightly forward while keeping your upper body nice and tall.
  3. Gently lunge forward until you feel a deep stretch across the front of your hip and thigh of your rear leg. You want to make sure that this forward lunging doesn’t cause any back pain. If it does, slightly tilt your pelvis back and squeeze your glutes further.
  4. Hold for a count of at least ten deep breaths.
  5. Move back to the starting position.
  6. Relax and repeat on the other side, doing at least 2 sets of 4.

Pigeon Stretch

Sitting Pigeon Direction Exercise
  1. Start in a lunge position. To do this, start off by standing and stretching one leg in front of the other. However, rather than dropping your foot all the way down as you would for a lunge, slide your right knee forward and bend it under your torso such that it comes to lie at a 90 degrees angle close to your right hand on the floor. Your right knee should be touching the outer edge of your mat while your right foot and leg should come to rest on the opposite side of the mat parallel to your right knee.
  2. Avoid bending your right knee too much beyond the level of your comfort. As you get used to this pose, you will slowly be able to bring your shin more in line with the front perimeter of your exercise mat.
  3. Lean a bit forward and slide the left, rear leg back, extending it straight behind you until you feel a stretch in the side of your front hip.
  4. Staying nice and tall, hold this stretch for a minimum of six deep breaths.
  5. Relax and repeat the entire sequence on the opposite side.

Bridge

Yoga Bridge Pose Exercise
  1. Lie on your back on the floor with your knees bent and feet flat on the mat about hip-width apart.
  2. If needed, slide in a rolled-up blanket beneath your shoulders to protect your neck.
  3. Walk your heels up towards your sit bones. To gauge the correct position of your heels, bring your hands down toward your feet on the floor. If your heels still seem farther from your sit bones, draw them close to the point where your fingertips land on the mat.
  4. Tuck your chin in.
  5. Exhale and relax your neck.
  6. Inhale. Root your feet into the floor and become aware of all the four edges of your feet. Turn upper.
  7. Exhale and slowly scoop your tailbone up as you press your palms into the floor.
  8. Keep scooping up from the backs of your thighs rather than from your lower back as you continue to take deep breaths.
  9. Stop when your back is up off the mat and your thighs are parallel to the floor. At the peak of your bridge pose, your knees will be directly over your heels. Walk your knees forward away from your sit bones to lengthen the space between your tailbone and the back of your knees.
  10. Stay in the pose for 30 seconds to 1 minute while continuing to take deep breaths.
  11. Slowly roll down your spine to the mat, starting from your upper back, one vertebra (backbone) at a time. Your tailbone should be the last part to touch the floor.
  12. Rest for a while on the floor.
Schedule appointment


    RECEIVE CONFIRMATION VIA:


    Sports Injury & Pain Management Clinic of New York 36 W 44th St Ste 1416 New York, NY 10036
    (Between 5th & 6th Ave)
    (212) 621-7746 sportspainmanagementnyc.com Patient Resources: Accessibility | Privacy Policy | Terms of Service | HIPAA | Sitemap
    © 2024
    Sports Injury & Pain Management Clinic of New York City
    New York's best rated pain management center.
    Website & SEO by NYMM
    DMCA.com Protection Status